
One of the current Fujitsu newest model RLS3/RLS3H has a neat feature that allow you to use a phone app called “FGLair” to control your air conditioner remotely. That includes remotely anywhere in the world given your phone has Wi-Fi connections.
Today I have tried to download the Android app and tried to connect my RLS3 to my router. And control it remotely.
- Search in the google app store for “FGLair”.
- The first one should come up to be the app you needed
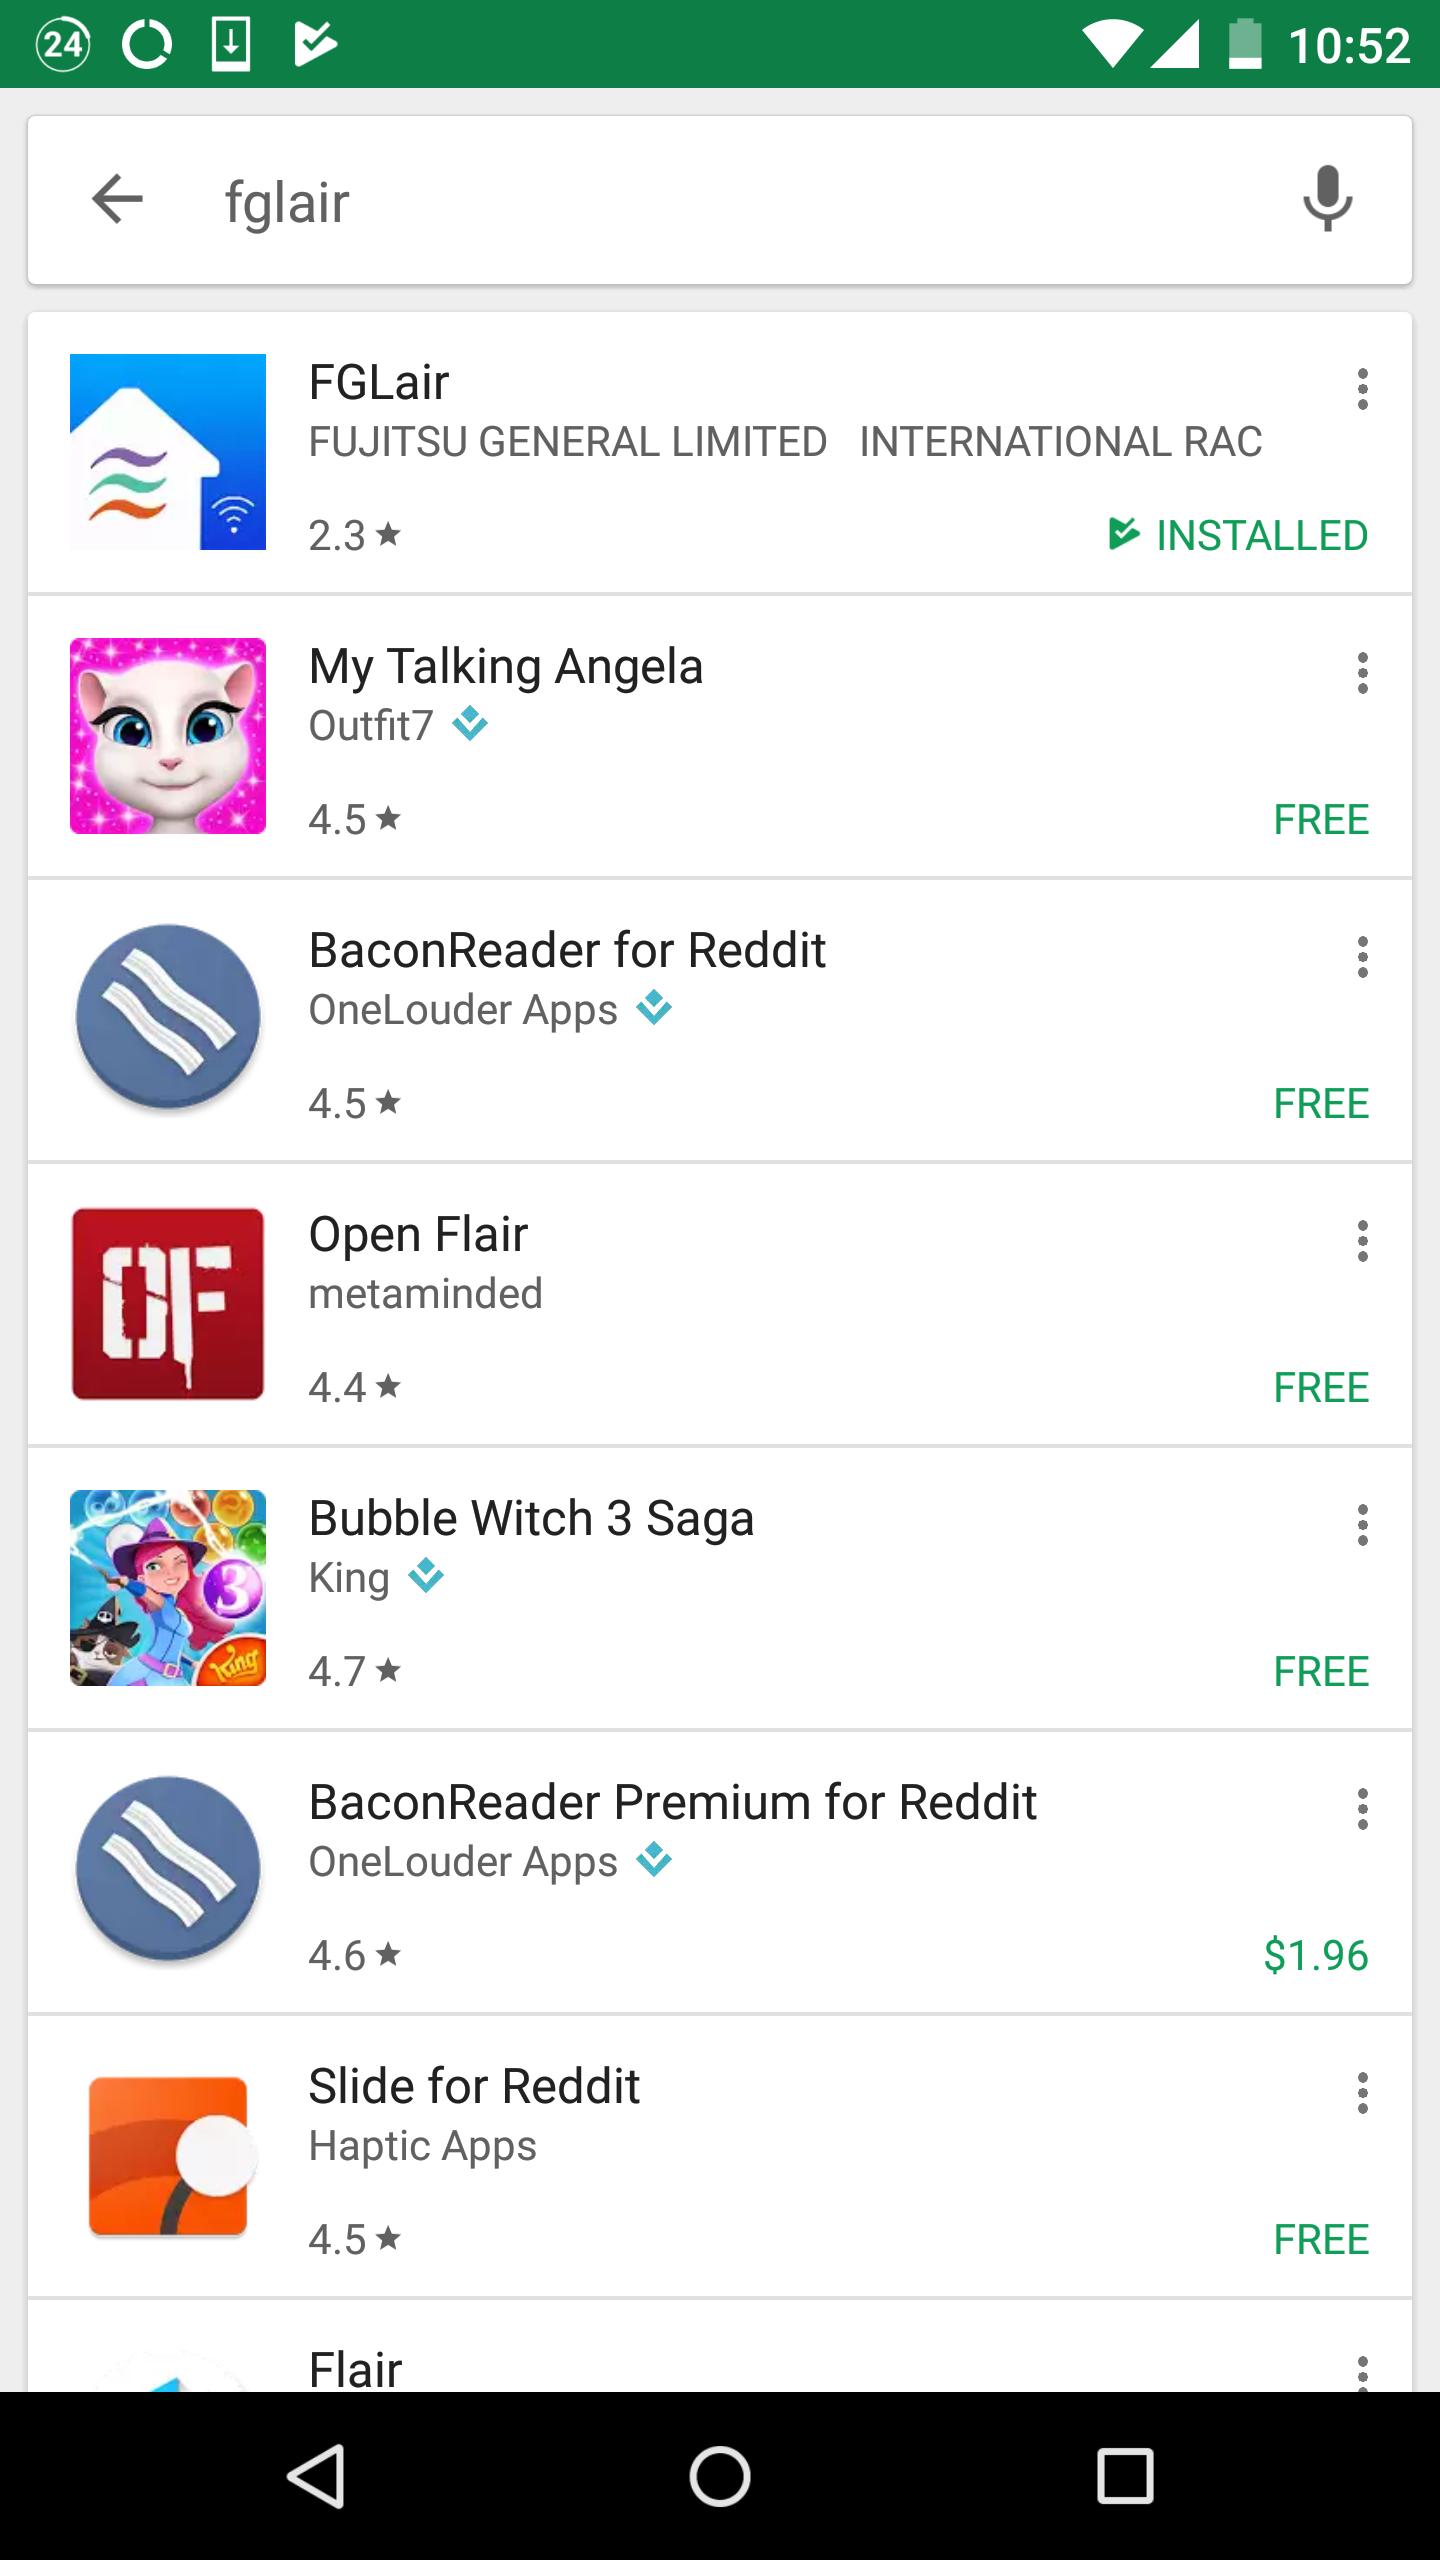
- Install it and open the application.
- Register for an FGLair account
- Login.
- We have arrived at an important step to formally connect to our device.
- According to the FGLair manuel I have found, that if the first time you connect the power of your air conditioner, and you did not configure Wi-Fi within an hour, then by default the Wi-Fi adapter of your AC is off.
- Open your AC cover you see be able to see two LED light and a button, press and hold on the button, the green light will light up and the orange light will start blinking.
- Now go to your Android FGLair app, and on the login page, click on the plus sign at the lower right hand corner of the page
- We then arrive at a page with some instructions and there could be two options:
- The Button option, this is the simplest option:
- f you click on the button, you then arrive at a page with a set of instruction on how to proceed.
- We just need to press on the WPS button on your router. The WPS button could be a soft button on your router home page (ex. 192.168.2.1); or a physical button on the router itself. For my Bell Hub 3000, it has both a soft and hard button to activate the WPS.
- AC will be automatically discovered and connected to the router.
- The Manual option:
- Once clicked, we need to wait for the phone to discover the AC
- When discovered, the host name of the AC will be shown in a list on the page.
- Click on the name, the app will start to establish connection to the AC, if now we check out the Wi-Fi connection of the phone, we can see that our phone is actually connected to the AC (not the router).
- With connection to the AC is established, A list of available network/router’s will be displayed. Select the appropriate router, then enter the password/passphrase to the router.
- Then press “Connect to the AC”, then router will start to establish a connection with the AC.
- Once AC is connected to the router, the app refreshes, and the AC host name is no longer shown in the list on the page.
- The Button option, this is the simplest option:
- The next step is a big confusing and not mentioned in the manual. We need to now register the connected (to the router) AC with our phone app. So on the page, click “Register” button.
- The phone app will start registering the AC. If it is successful, we will see the “Directory” section being refreshed with a message stating something such as “reloading your building plan”
- And the AC name will show up, click on the AC name, we are now able to control the AC via our network using our Android app.
So that is it, it sounds somewhat confusing to the first timer. It took me a bit of time to figure it out, but at the end it worked. But I hear a lot of people complaining the difficulties of the app. It was indeed cumbersome to use, especially the operation manual that comes with the machine does not state a word about Wi-Fi functionality. The installation team had no knowledge of how Wi-Fi operates with this unit either. It was very confusing at the beginning.
But now this 33 SEER unit is up and running, I am having my figure crossed that it will operate as expected, at least to its reputation. And that marks the end of today’s update.